Thursday, April 3, 2014

Creating 3-D Special Effects: Animal Prosthetics

Our MMS 8th graders continue exploring the world of special effects as we shift gears from 2-D makeup to  3-D prosthetics.

Usually in the mold making industry the sculptor would create a face cast of its model. To stay within our budget we were limited in creating plaster mask forms of each of the students. This method sacrifices detail of the model but for our objective the plaster form worked adequately.

CREATING THE FACE CAST (on a budget)

This is an example of our students applying plaster gauze to the models face. 


After the plaster form dried, the students drew main characteristic of their animal onto the plaster forms to prepare for clay application. They used their animal research for visual information.

CREATING THE CLAY POSITIVE
The students then began applying clay, building up the areas that were needed to convey the animal characteristics. Below are a few examples.


CREATING THE PLASTER MOLD
After detail was added to the clay positive, plaster was added to create the negative (the mold).
I prepared a thin mixture of plaster and the students began adding this to their masks. The thin mixture gets into all the nooks and crannies of the clay. This process is done slowly at first so the plaster doesn't run off the clay. The students worked slowly as they built up the plaster. Their goal was to have a 3/4-1" layer of plaster.


 This is a sample of how the plaster mold looks. If the clay positive has a high point (like a large protruding nose) we added plaster gauze strips to the outside of the plaster mound for safe measures.


The next day the plaster mold was turned over and the students began taking out the clay positive. They worked carefully not to cause scarring or scratching on the inside of the plaster mold. 

This mold is cleaned out and ready for the latex application. Can you tell what animal it is?


POURING THE LATEX (latex positive) Watch the video to see this process. 


The latex is beginning to dry.  


 This is an example of the latex completely dry. Usually by 24 hours the latex is dry enough to be removed from its plaster mold.


PULLING THE LATEX FROM THE PLASTER MOLD

Pulling the latex from the plaster mold is so exciting! The students have worked hard up to this point so it is a huge reward for them to see the fruits of their labor.


Chimera: MMS 6th Graders Use Photoshop to Create Chimeras

Chimera (/kɨˈmɪərə/ or /kˈmɪərə/The term chimera has come to describe any mythical or fictional animal with parts taken from various animals, or to describe anything composed of very disparate parts, or perceived as wildly imaginative or implausible.

When Jenette Noe (aka Miss Noe), our student teacher extraordinaire, and I were brainstorming a creative project to facilitate our goal to introduce Photoshop to our 6th graders, she came up with a fantastic idea using the concept of chimera. The project met our curriculum goals and the students had a fantastic job creating their chimeras. 

The first image is the chimera created by Miss Noe. She is very practiced in Photoshop and did a fantastic job creating her chimera to show as an example to the class. 


Below are of the students' completed chimeras:


Friday, March 14, 2014

Drawing Rendering: 7th Graders Learn to See

It is always exciting for me to teach a student to draw. Many come into my class with the preconceived idea that they are doomed to a life of poor drawing skills. But I know, through 30 years of teaching art that anyone who follows my direction can indeed learn to draw. Betty Edwards knows the secret, and thousands of others. But you see, being able to draw isn't an exclusive birth right. Anyone can learn. Anyone can learn to draw.

I begin talking to my students about how our brains function, and the duties of the left and right hemispheres. The left brain is vitally important in our day-to-day function however when it comes to rendering (drawing what you see), it really  is more of a hindrance than an asset.

The left hemisphere is our logical, sequential side of our brain. It functions linearly, it memorizes, it sorts, it has order. Our right brain is our creative side. It lives in the moment. It is spontaneous, free, expressive. I call it the "fun" side of our brain but that's just me. I like to have fun.

All of us (unless somehow impaired) have the function of both the left and the right brain, but for most individuals, one side seems to be more dominant than the other. There are uber gifted individuals who are strong  in both hemispheres. Spontaneous order, how awesome would that be?

As a child we were taught how to draw certain things: a tree, a sun, a house, an eye. These images get stored in our left brain, much like a computer hard drive. One of our left brain's function is storing information. These images act like clip art.


The left brain can be very dominant. It is nurtured more than our right  through the natural activities of our day. At this point in my "You Can Learn to Draw" lesson  I draw an illustration of a stick man with bulging muscles (left brain) and a meek, more weaker stick man (right brain). Notice how they are both smiling, that's because they are both happy.

Because of it's dominance, the left brain seems to want to do everything. So, when you sit down to try to draw something you are looking at, the left brain seems to take over. The more passive right brain allows this to occur. Since the left brain functions by things it has "learned" it will rely on information that is stored rather than what it sees. This is where the conflict happens. So, the task at hand is to quiet the left brain while we are doing right brain stuff, so the right brain can do what it does best, without having the left brain interfere. When it comes to rendering, we definitely want the right brain doing the work.


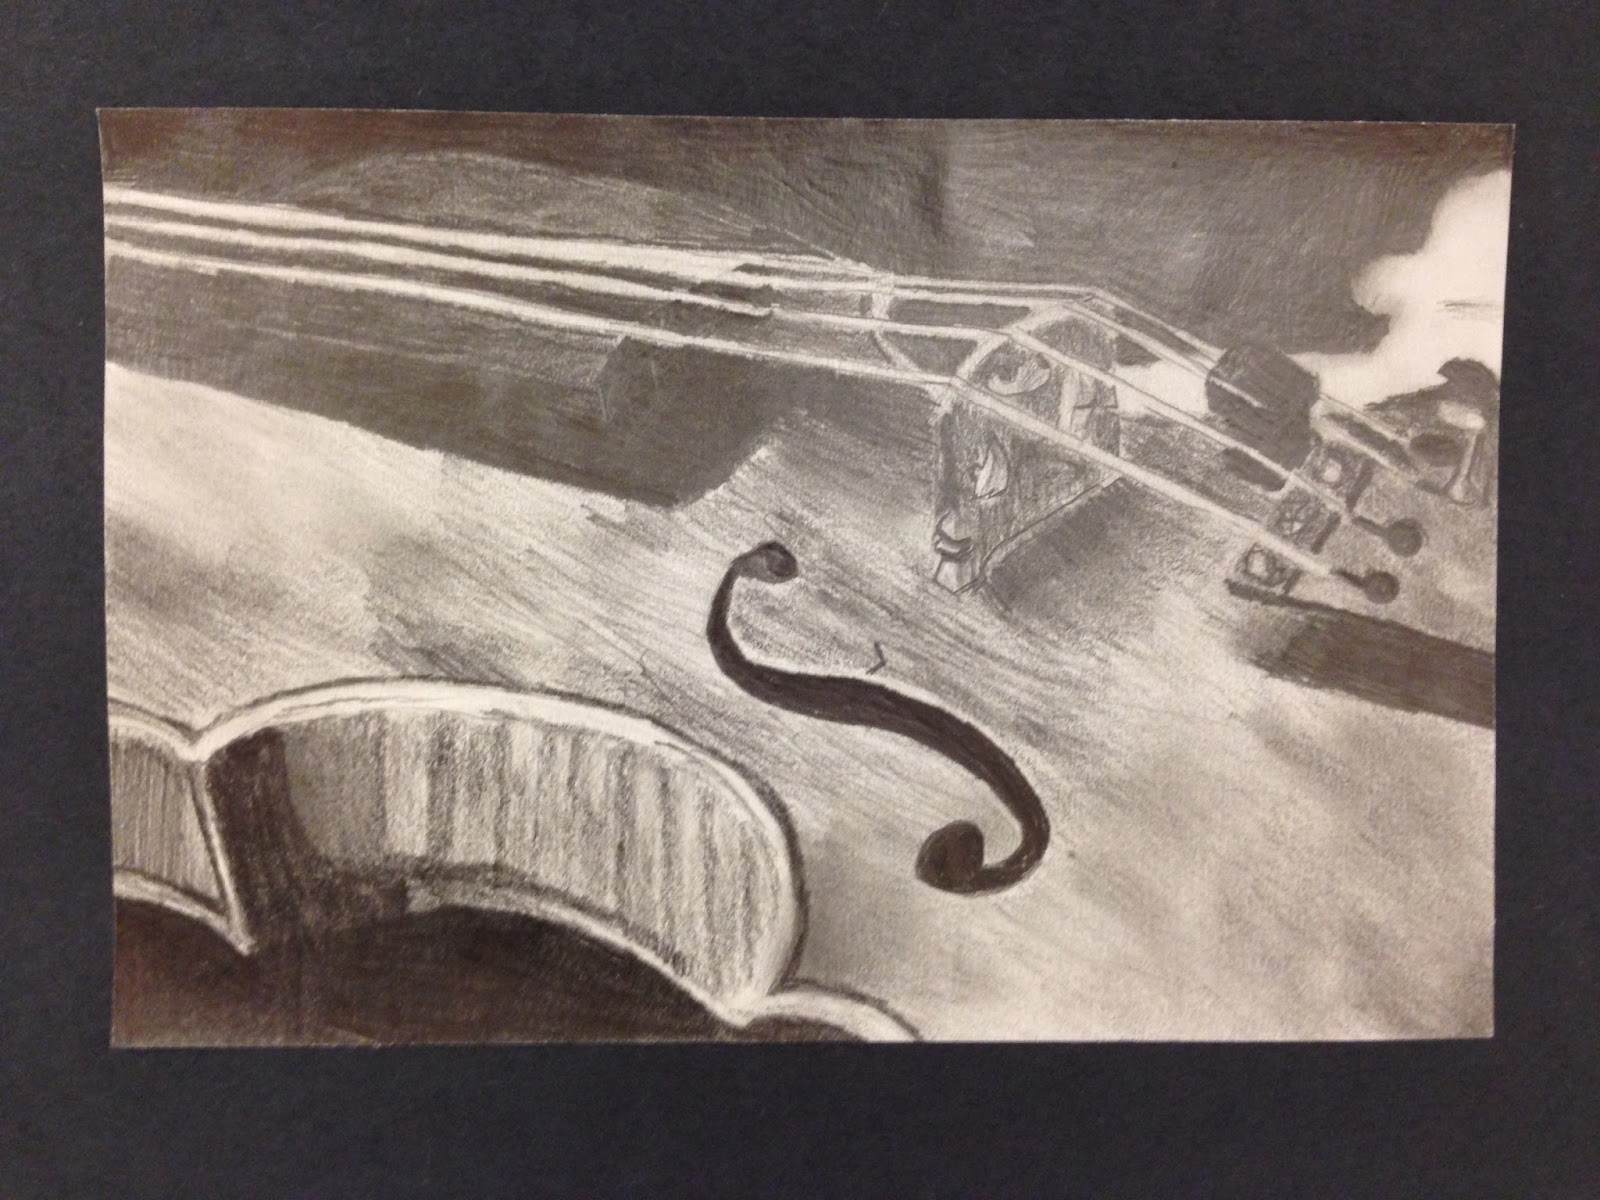
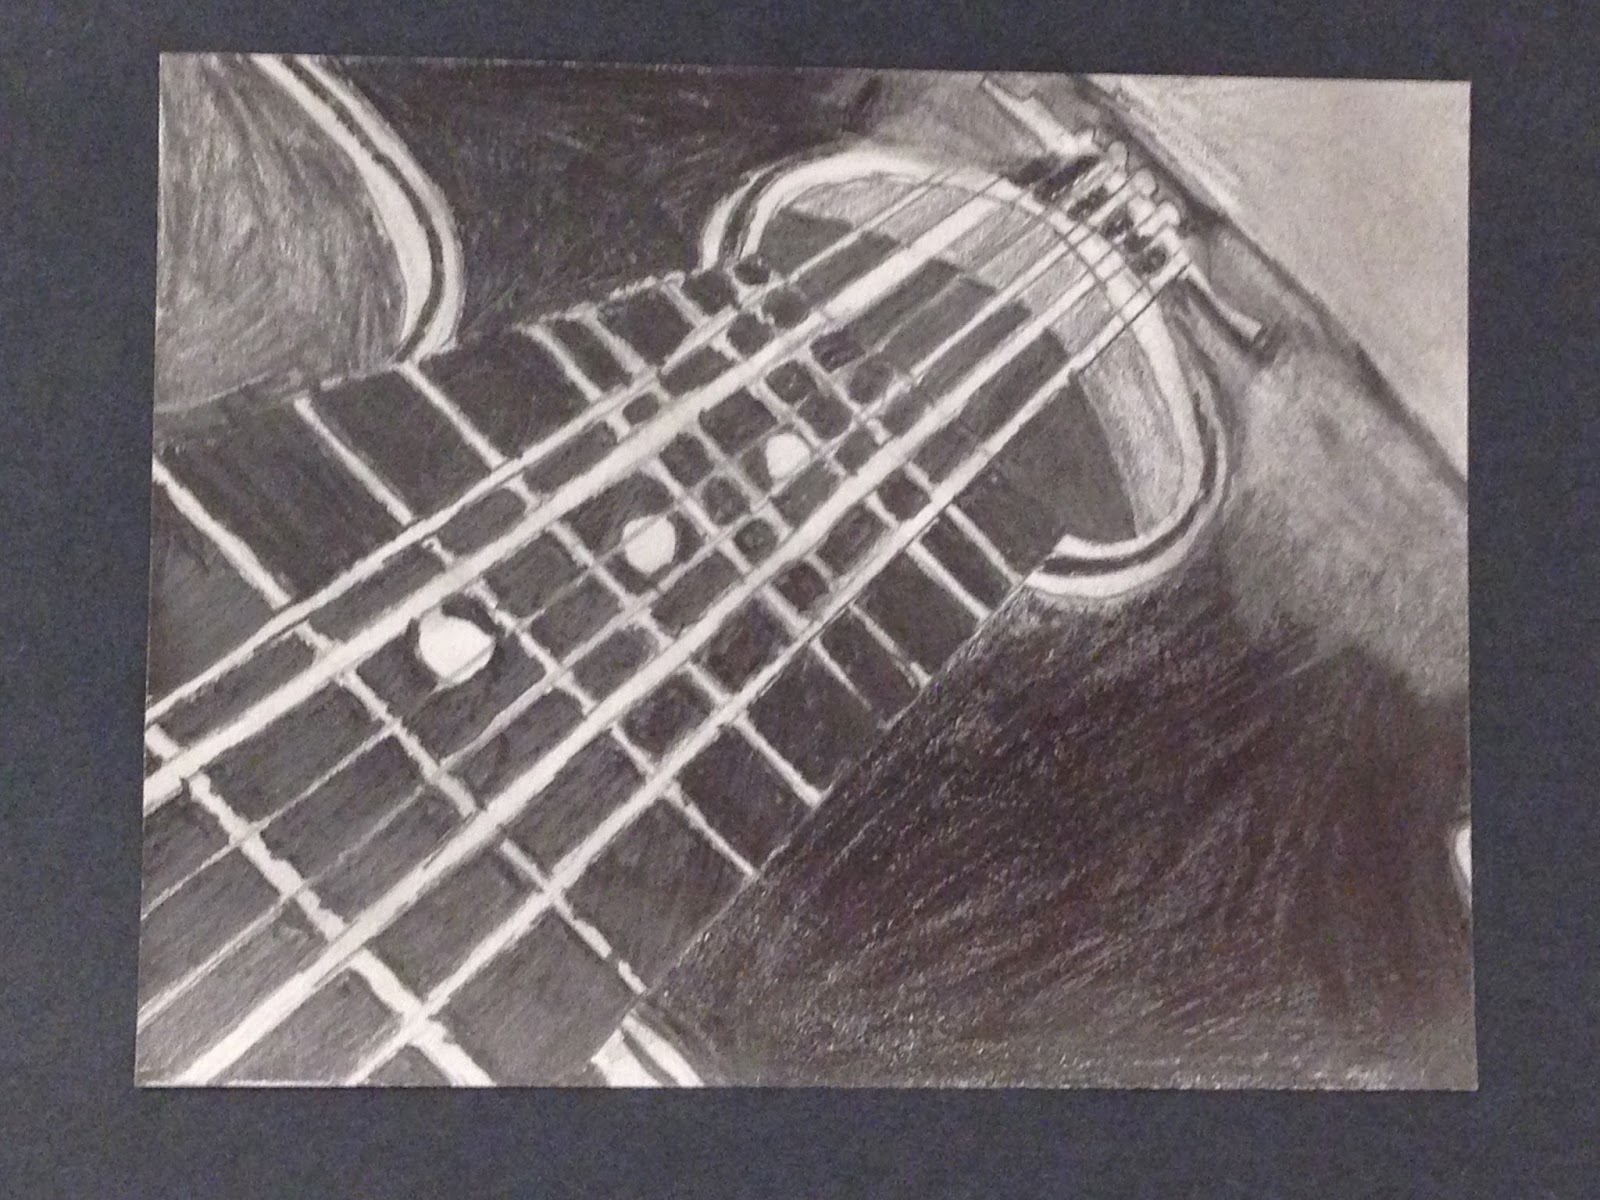
I know this is all a bit of a tease, but our 7th grade students just spent the last few weeks working on rendering. They learned to let the right brain draw, and they quieted their left brain so the right brain could do what it does best. Just look at the results! Please note: most of the examples are done by students who believed they couldn't draw. Pretty exciting isn't it?